
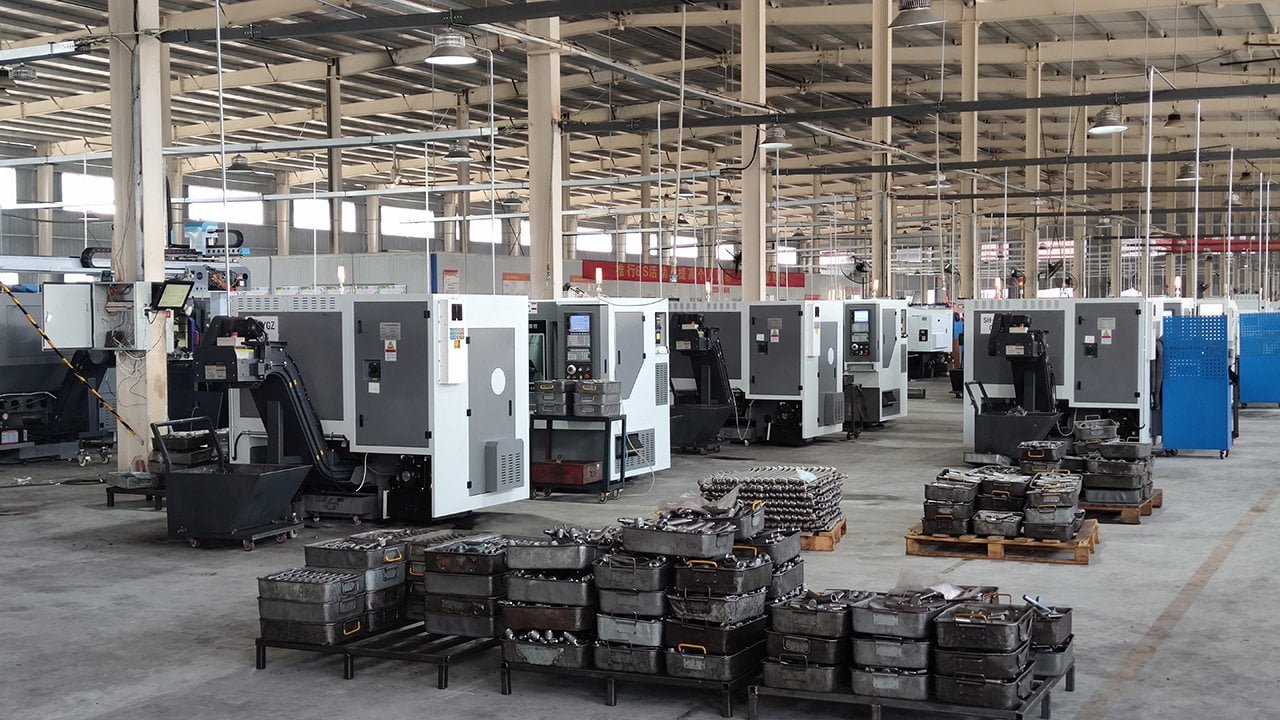
A worn strut mountcan affect steering feel, driving comfort, and suspension performance. If you notice knocking sounds over bumps, unusual vibration, or changes in handling, replacing the strut mount may help restore proper suspension operation.
However, changing a [strut mount](https://gdstauto.com/strut-mount/ is not just a simple remove-and-install job. The process involves removing the strut assembly, safely handling a compressed coil spring, and ensuring every component is installed correctly.
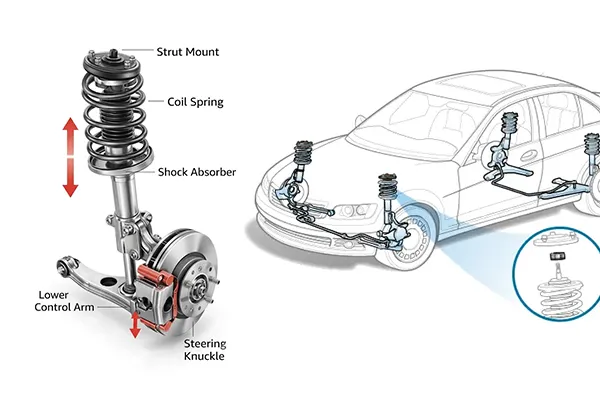

To change a strut mount, remove the strut assembly, safely compress the coil spring, replace the old mount, reinstall the assembly, and inspect the suspension system after installation.
Strut Mount Replacement Process at a Glance
| Replacement Step | Main Task | Important Notes |
|---|---|---|
| Step 1 | Prepare tools and safety equipment | Use proper tools and safety equipment before starting |
| Step 2 | Remove the strut assembly | Follow the vehicle-specific removal procedure |
| Step 3 | Compress the coil spring and remove the old strut mount | The most dangerous step; control spring tension carefully |
| Step 4 | Install the new strut mount | Confirm fitment and follow correct torque specifications |
| Step 5 | Reinstall and test the vehicle | Check suspension performance after installation |
Step-by-Step Guide: How to Change a Strut Mount
Step 1: Prepare the Tools and Safety Equipment
Before starting a [strut mount replacement](https://gdstauto.com/how-to-replace-a-strut-mount/, prepare all necessary tools and make sure you have a safe working environment.
Common tools include:
- Floor jack and jack stands
- Socket and wrench set
- Torque wrench
- Spring compressor
- Impact wrench (optional)
- Safety glasses and gloves
Always park the vehicle on a flat surface and secure it properly before removing suspension components. A stable setup helps prevent accidents and makes the replacement process smoother.
Step 2: Remove the Strut Assembly from the Vehicle
The next step is removing the complete strut assembly from the vehicle.
Follow these general steps:
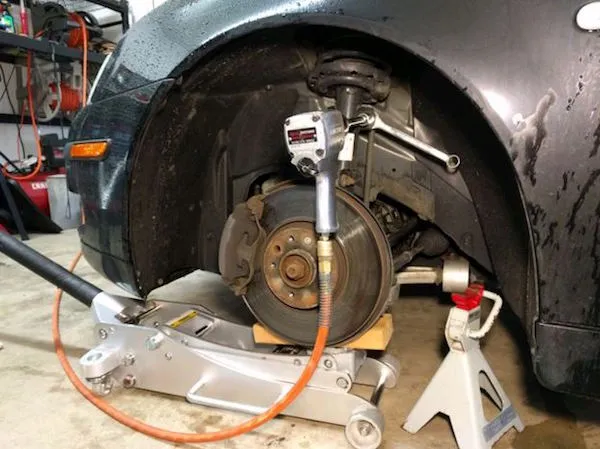
- Remove the wheel.
- Disconnect parts attached to the strut, such as the stabilizer link, brake hose bracket, and ABS sensor wire bracket.
- Remove the lower strut mounting bolts.
- Remove the upper mounting nuts.
- Carefully remove the complete strut assembly.
The exact procedure depends on the vehicle design. Some applications require additional disassembly, especially when access to the upper strut mount is limited.

Step 3: Compress the Coil Spring and Remove the Old Strut Mount Safely
Safety Warning: Spring Compression Is the Most Dangerous Step
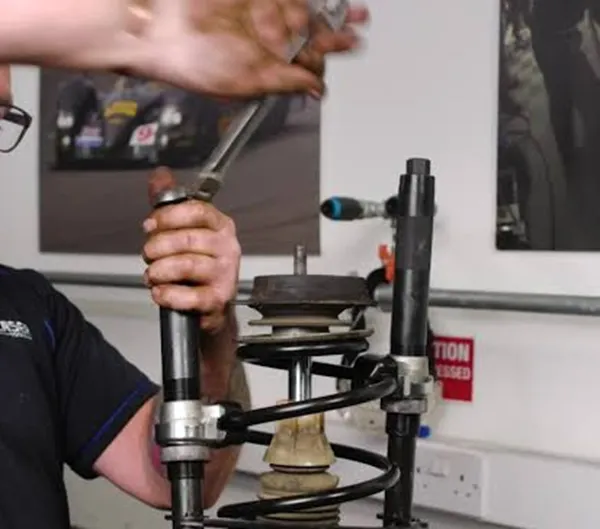
The coil spring compression process is the most dangerous part of changing a strut mount because the compressed spring stores a large amount of energy. If the spring compressor is installed incorrectly or the top nut is removed before the spring is fully secured, the spring can release suddenly and cause serious injury.
Always use a suitable spring compressor and make sure it is properly positioned before removing the center nut. Never attempt to remove the strut mount while the spring is still under tension.
After the spring is safely compressed:
- Remove the top nut from the strut assembly.
- Separate the old strut mount from the strut.
- Inspect other suspension components before installing the new part.
During replacement, it is recommended to check:
- Strut bearing
- Coil spring
- Dust boot
- Bump stop
Replacing only the damaged strut mount while ignoring other worn components may lead to additional repairs later.

Step 4: Install the New Strut Mount Correctly
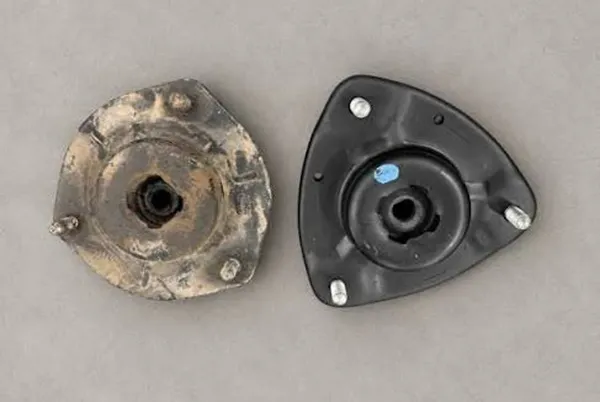
Before installation, compare the new strut mount with the old one to confirm that the design, size, and mounting points match.
When installing the new part:
- Install components in the correct order.
- Make sure the mount is positioned correctly.
- Tighten fasteners according to the vehicle manufacturer’s torque specifications.
A high-quality strut mount needs accurate dimensions and consistent material performance to ensure proper fitment and durability. From our experience manufacturing suspension components for global automotive applications, incorrect fitment and inconsistent production quality are common causes of installation problems and premature wear.

Step 5: Reinstall the Strut Assembly and Test the Vehicle
After installing the new strut mount, reinstall the complete strut assembly.
Make sure to:
- Tighten all mounting bolts properly.
- Reinstall the wheel.
- Lower the vehicle safely.
- Perform a road test.
During the test drive, check for:
- Knocking noises
- Steering response
- Vehicle stability
- Unusual vibration
For some vehicles, a wheel alignment inspection may also be recommended after suspension repairs.
How Long Does It Take to Replace a Strut Mount?
Replacing a strut mount usually takes about 1 to 3 hours per side for a professional mechanic, depending on the vehicle design, repair conditions, and available tools.
The actual time can vary because some vehicles require more complicated strut removal procedures. DIY replacement may take longer because safely compressing the spring requires extra care and experience.
Should You Replace Both Strut Mounts at the Same Time?
Yes, replacing both strut mounts at the same time is usually recommended because both sides experience similar mileage and driving conditions.
Replacing them together helps maintain balanced suspension performance and reduces the chance of another repair being needed soon.
Common Mistakes When Changing a Strut Mount
Using Incorrect Tools
One common mistake is attempting a strut mount replacement without proper spring compression equipment.
A coil spring should never be removed without a suitable spring compressor because the stored energy can create a serious safety risk.
Ignoring Related Suspension Components
A worn strut mount may not be the only damaged component.
During replacement, inspect:
- Strut bearing
- Shock absorber
- Coil spring
- Dust boot
Replacing worn parts together can help avoid repeated labor costs.
Not Following Torque Specifications
Incorrect torque can affect suspension performance and component durability.
Always follow the recommended specifications to ensure the strut mount and related parts work properly.
How to Choose a Quality Replacement Strut Mount
When selecting a replacement strut mount, focus on more than just price. The quality of materials, manufacturing accuracy, and testing standards all affect long-term performance.
Material Quality
The rubber compound should provide durability, flexibility, and resistance to aging.
Low-quality materials may crack, deform, or lose performance after extended use.
Manufacturing Accuracy
Proper dimensions and OE-level fitment are important for smooth installation and reliable operation.
A precisely manufactured strut mount helps prevent abnormal noise and installation issues.
Testing Standards
Reliable suspension component manufacturers usually perform durability and performance testing, including:
- Compression testing
- Fatigue testing
- Ozone resistance testing
- Salt spray testing


With more than 20 years of OEM/ODM suspension parts manufacturing experience, GDST Auto Parts understands that consistent materials, accurate production processes, and strict quality control are essential for reliable suspension components.
FAQ About Strut Mount Replacement
Can You Replace a Strut Mount Without Replacing the Strut?
Yes, you can replace a strut mount separately if the strut itself is still in good condition.
However, inspect other suspension components at the same time to avoid repeated repairs.
What Are the Symptoms of a Bad Strut Mount?
Common [bad strut mount symptoms](https://gdstauto.com/signs-of-bad-strut-mount/ include knocking noises, steering vibration, poor handling, and unusual suspension movement.
These symptoms usually indicate wear in the rubber mount or internal bearing.
How Often Should Strut Mounts Be Replaced?
Most strut mounts can last around 50,000 to 100,000 miles, but lifespan depends on driving conditions and vehicle usage.
Rough roads, heavy loads, and extreme weather can accelerate wear.
Are Aftermarket Strut Mounts Reliable?
High-quality aftermarket strut mounts can provide reliable performance when they meet OE specifications and pass proper quality testing.
Material quality and manufacturing consistency are key factors.
Conclusion
Changing a strut mount requires proper tools, safe spring handling, and careful installation. By following the correct replacement steps and choosing a reliable part, you can improve suspension performance, restore driving comfort, and reduce future repair issues.